
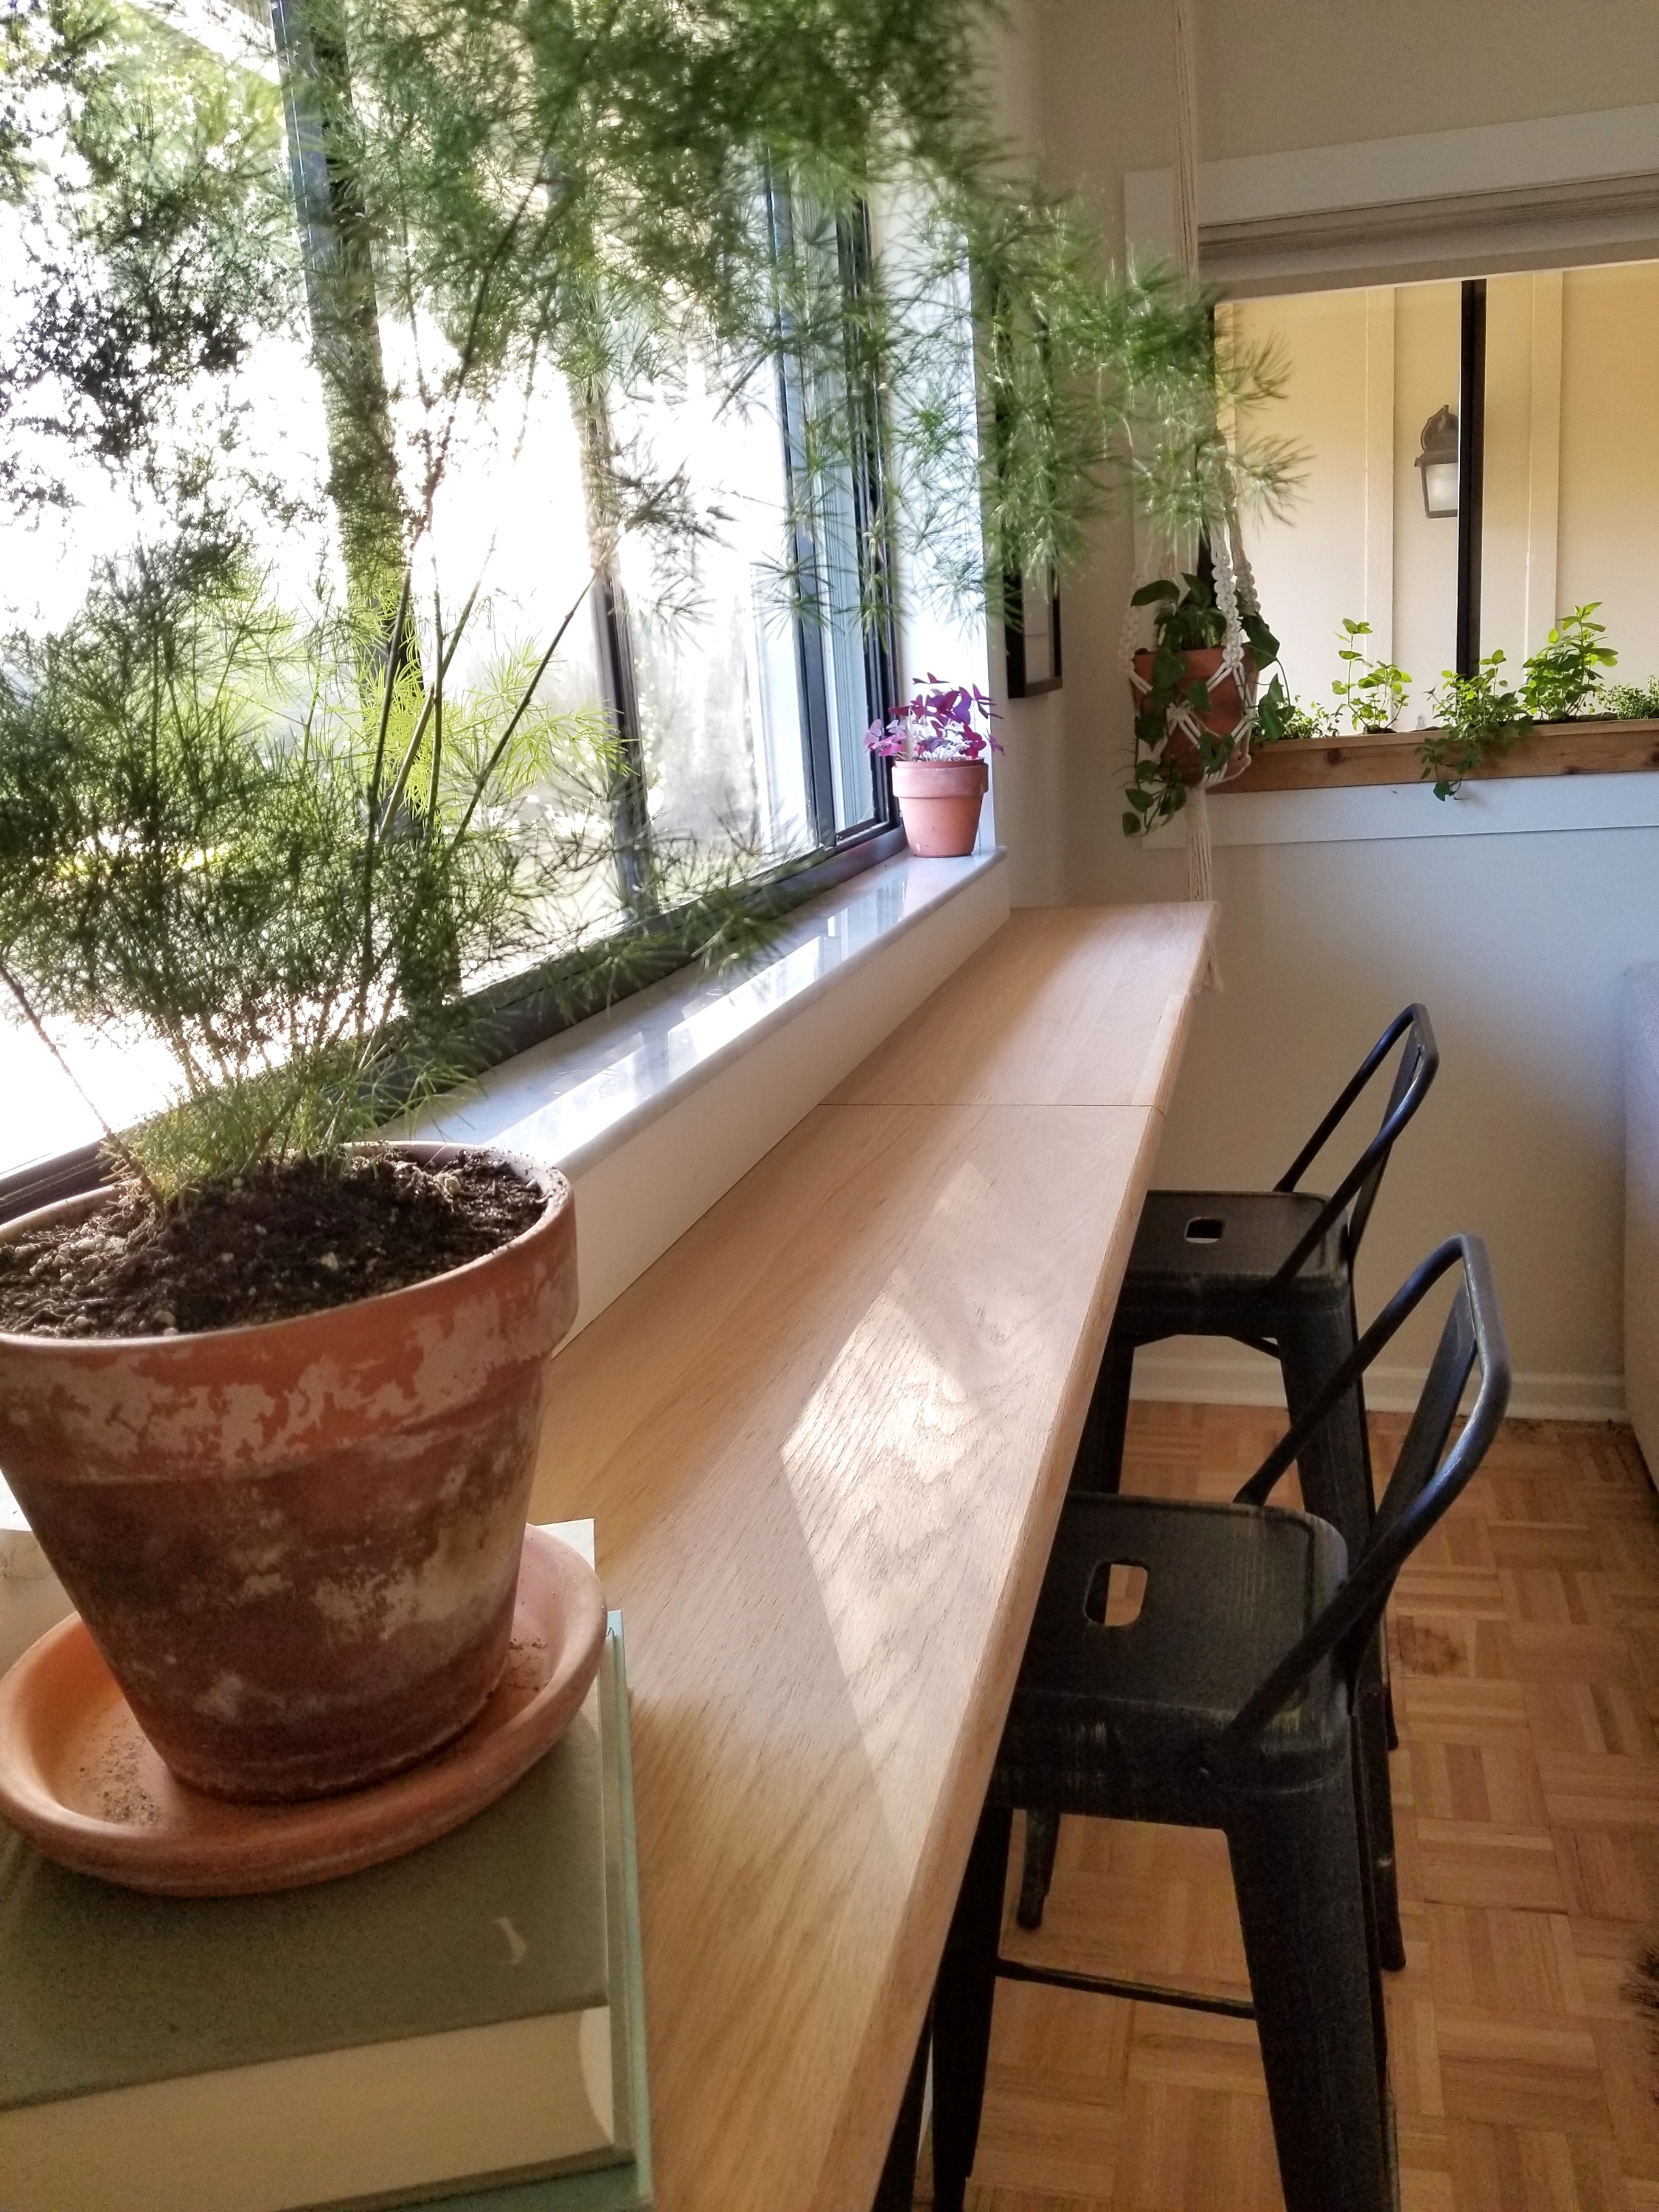
It all started with: 'Wouldn't it be cool if we had a little bar here?' After months of searching without finding the right fit, we found the answer in the stair aisle at Lowe's — oak stair treads. Less than an hour to install and under $100.
Step 1 — Measure Your Window
Measure your window width including the molding, then plan for a 5–6" overhang on each side. We set our bar height at 41¾" from the ground to fit standard 24" bar stools.

Step 2 — Locate Your Studs
Mark the expected bar endpoints and window center on the wall. Use a stud finder from one end mark to the other — you'll position two brackets per stair tread, one near each end. It is more important to have a bracket on a stud than to have them equally spaced.

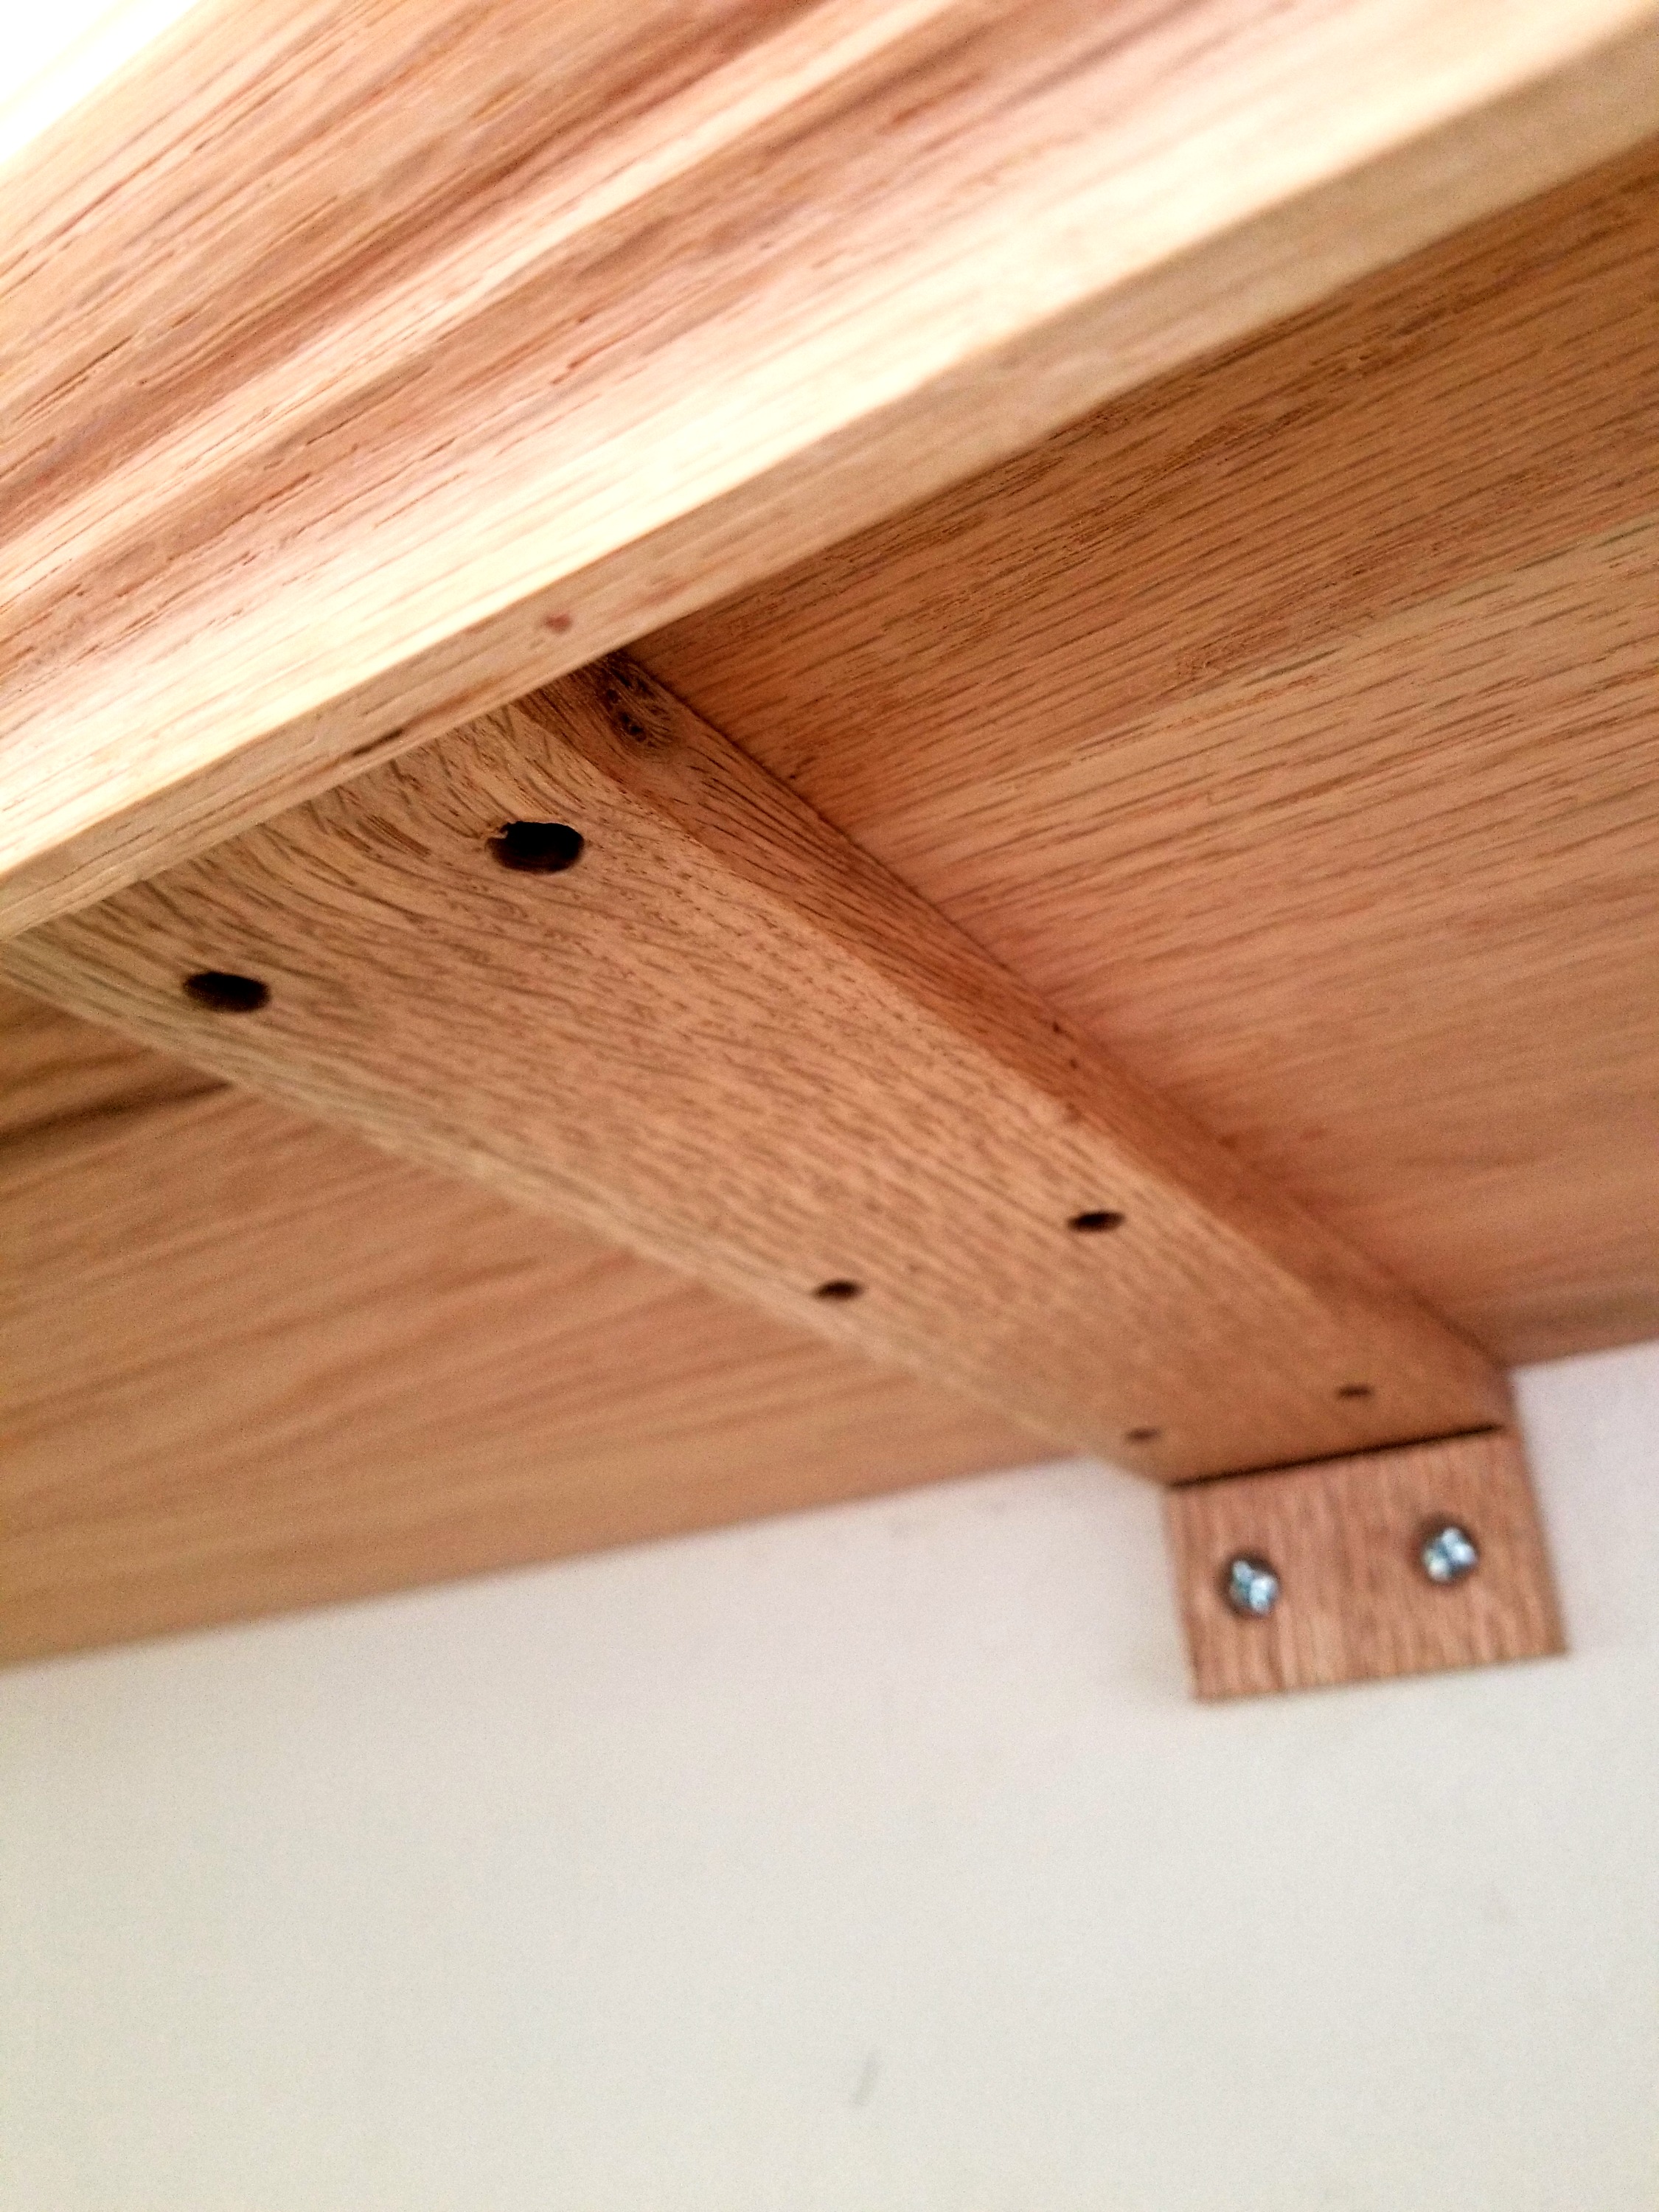
Step 3 — Screw in the L-Brackets
Have an assistant hold the stair tread at the desired height while you position each L-bracket flush with the tread's bottom. Use 1¼" exterior decking screws, mark and secure the single non-slotted hole first, then use a level before driving the second screw.
Step 4 — Cut Stair Length & Add Reinforcement (If Needed)
If your treads are longer than needed, calculate the overage and divide by the number of treads to determine cuts. For a reinforcement joint, cut a 1×3" oak board to ~10⅝", drill and countersink six holes (three per side), and attach it across the joint where two treads meet.
Step 5 — Attach the Bar Top
Slip the stair treads onto the brackets, making sure your joint lines up with the window midpoint mark. Use 7×7/16" pan framer screws to secure the bracket tops to the treads from underneath. Attach stair nosing pieces to the ends with wood glue and nails.
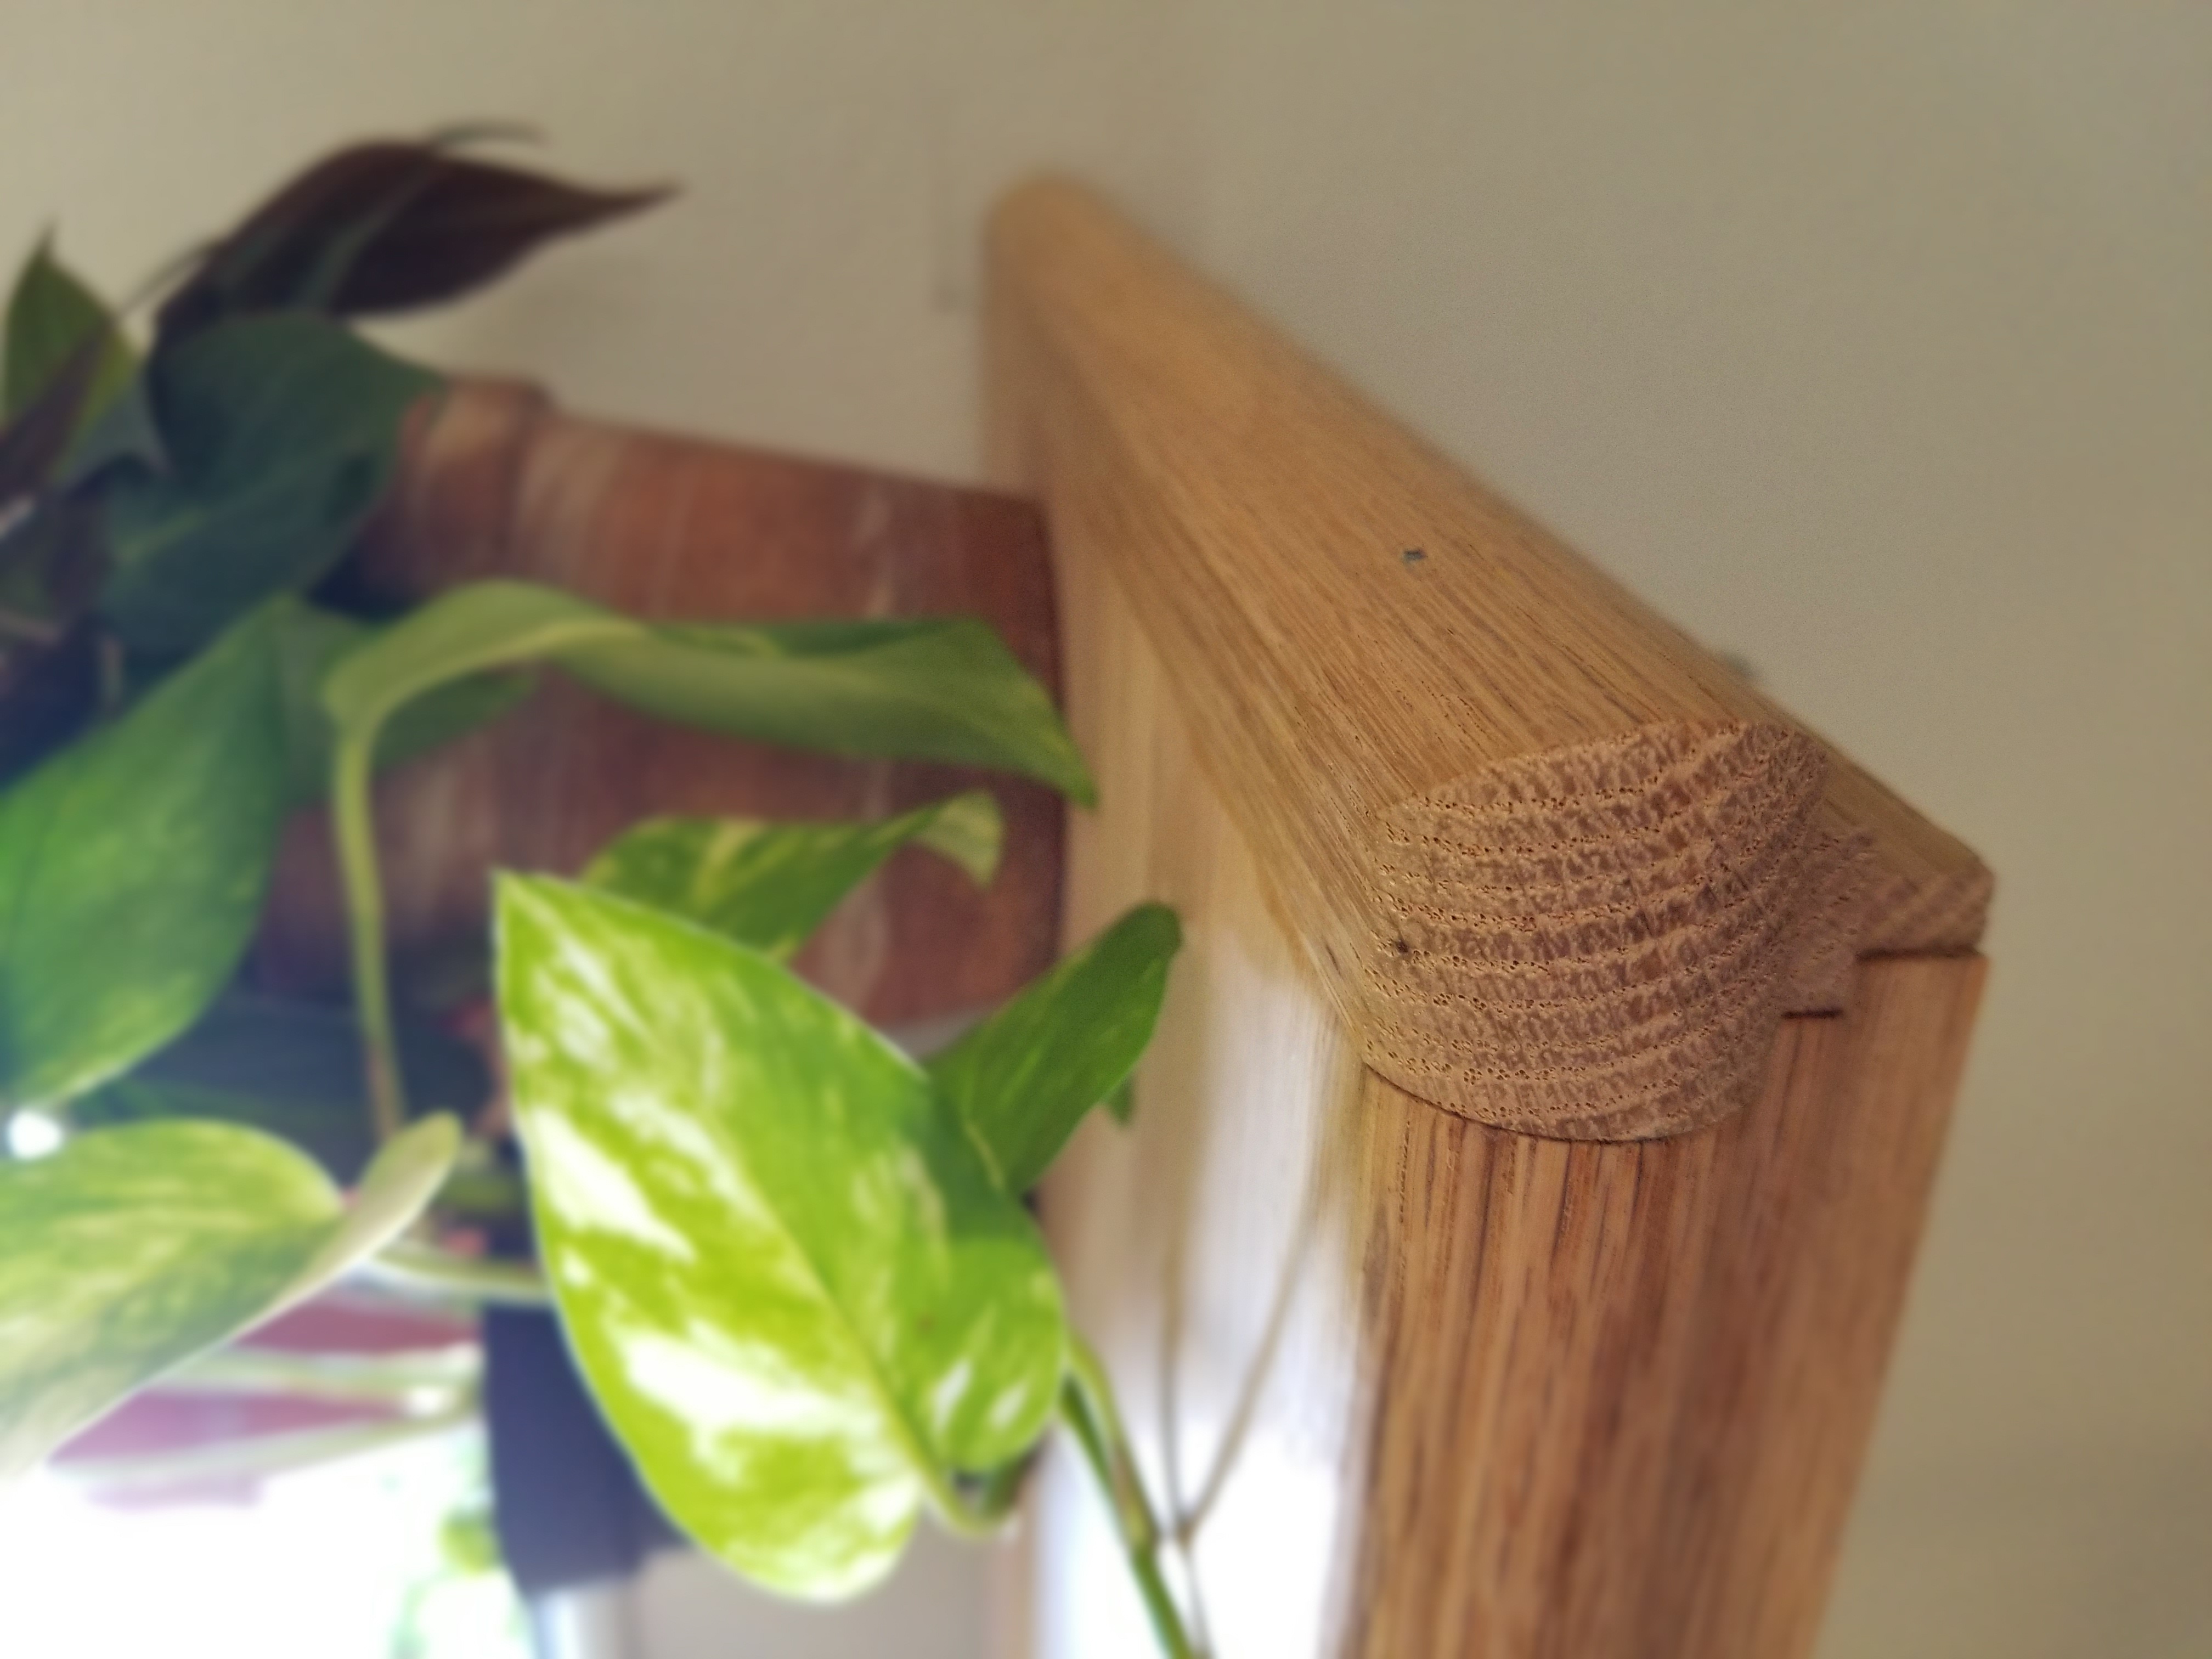
Step 6 — Sand, Stain & Seal
Hand-sand the surface with 220-grit sandpaper, then apply water-based polyurethane with a foam brush — 2–3 coats, sanding lightly between each. Water-based poly stays clear over time (oil-based yellows from UV). Do the full install before final finishing so you can sand out any joint imperfections.
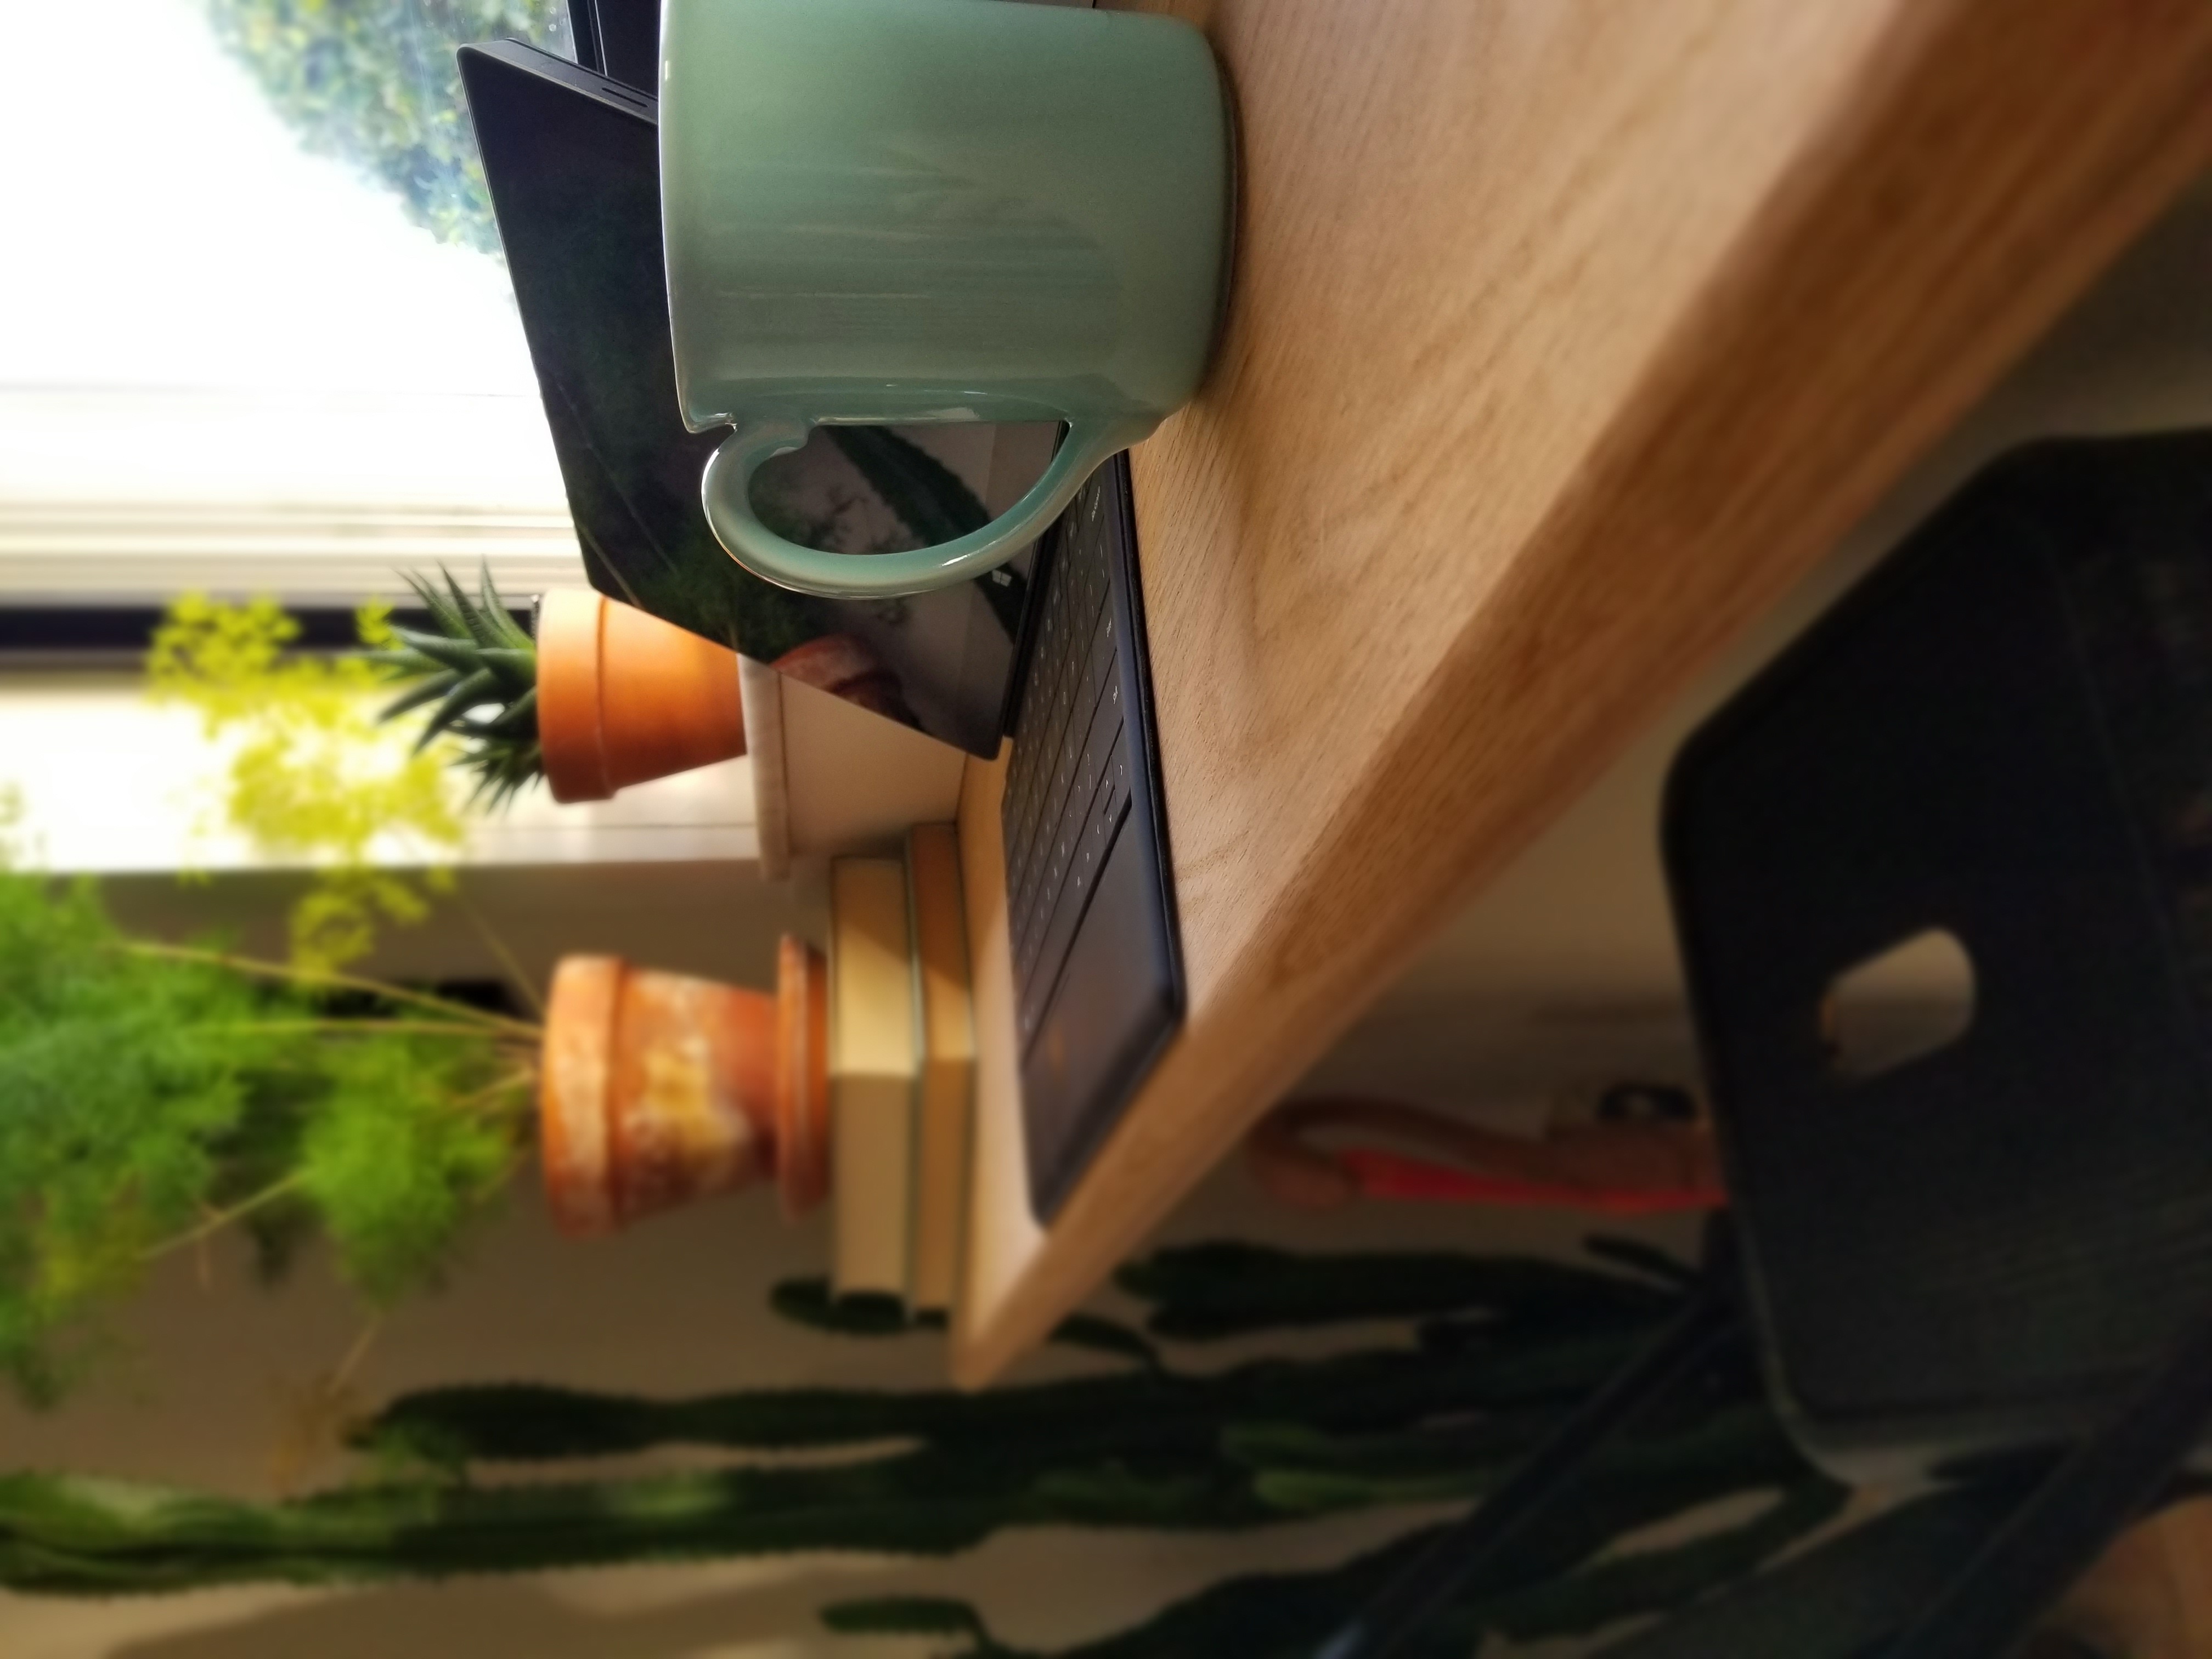
Pro tip: just adding small potted plants to your bar instantly gives you that garden café vibe. Tag me @tys_knots when yours is done — I'd love to see it!


