
This Botanical wall art is SO easy! 3 materials, 3 steps & bam! You have a beautiful, unique print to hang.
What You'll Need
- 2 pieces of cotton fabric (I used 1 cotton drawstring bag)
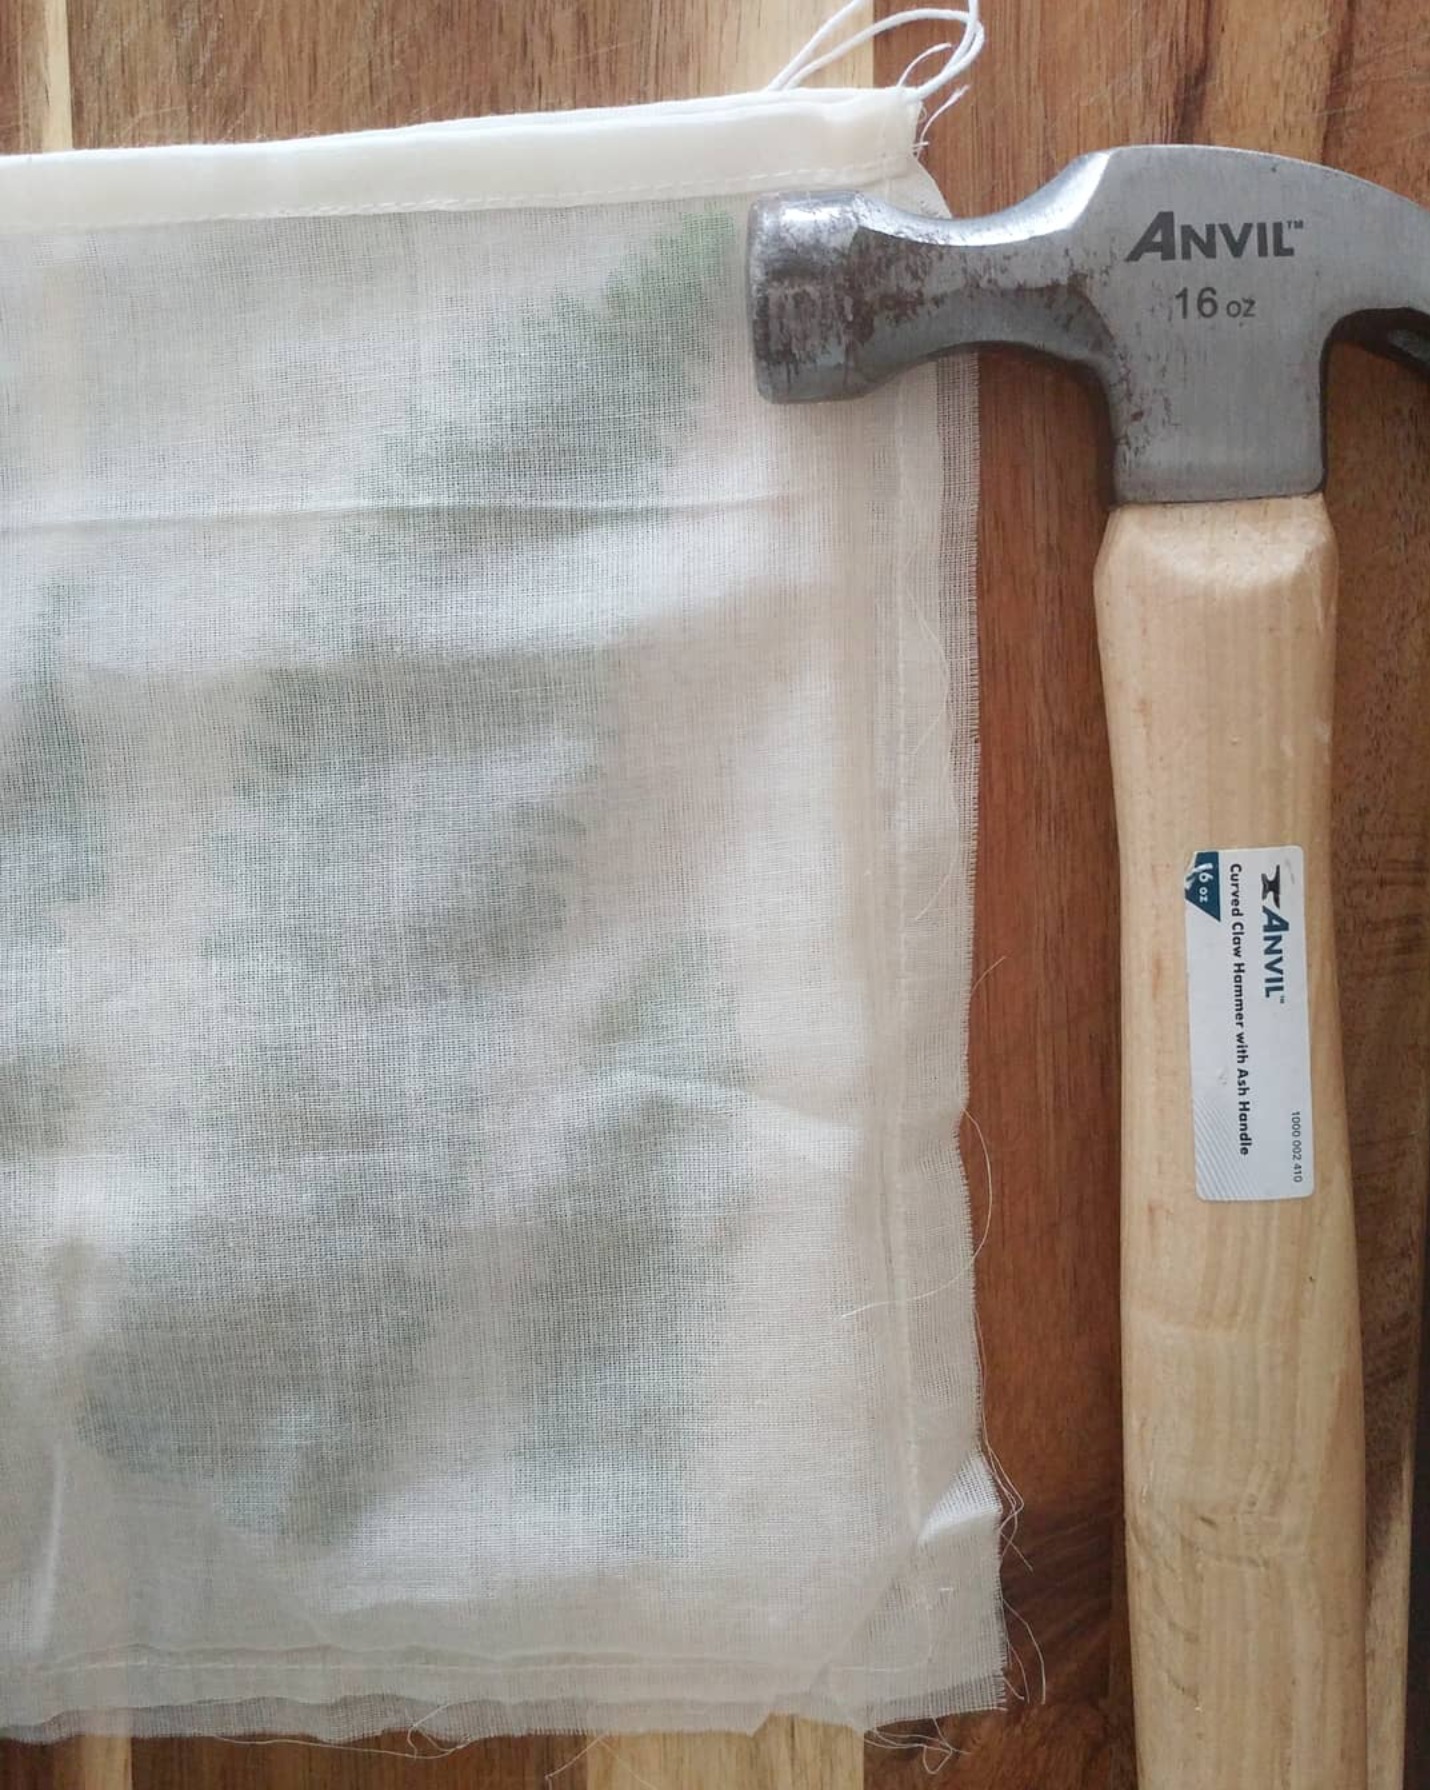
- Hammer or Mallet
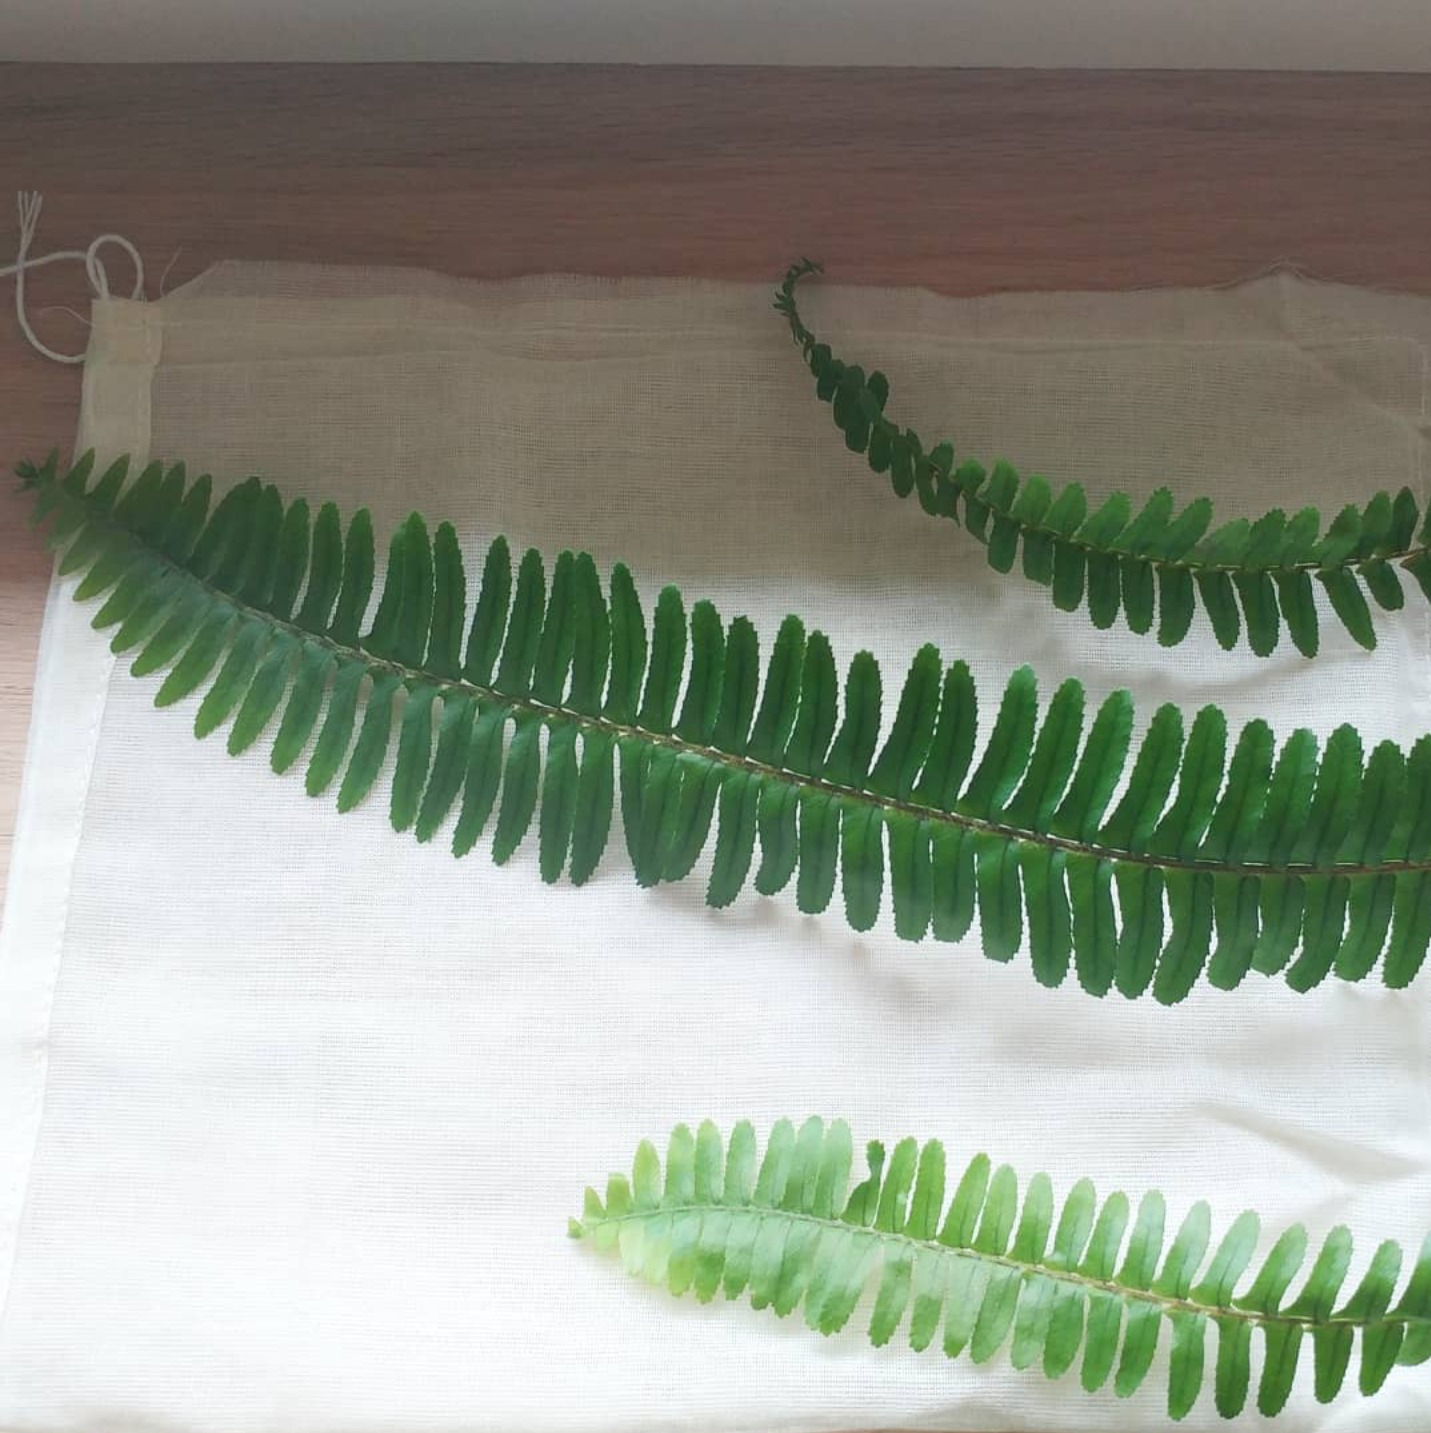
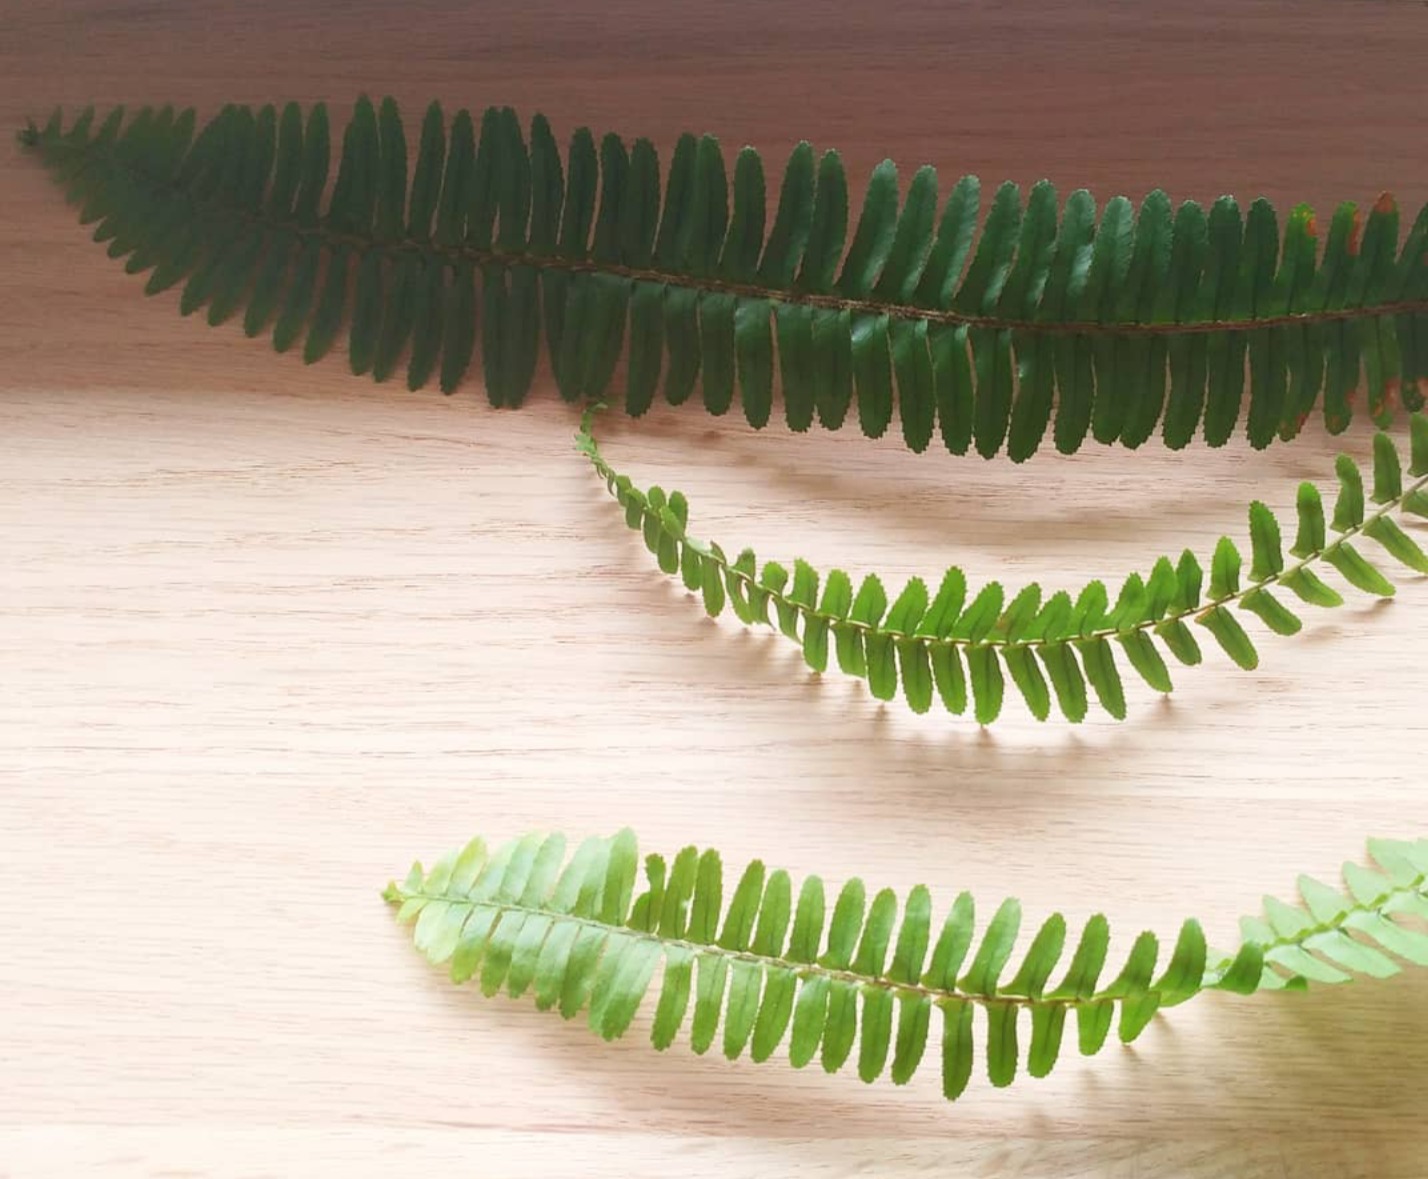
- Fresh plants / flowers of your choosing (I used 3 small fern leaves)
Step 1 — Pick Your Botanicals
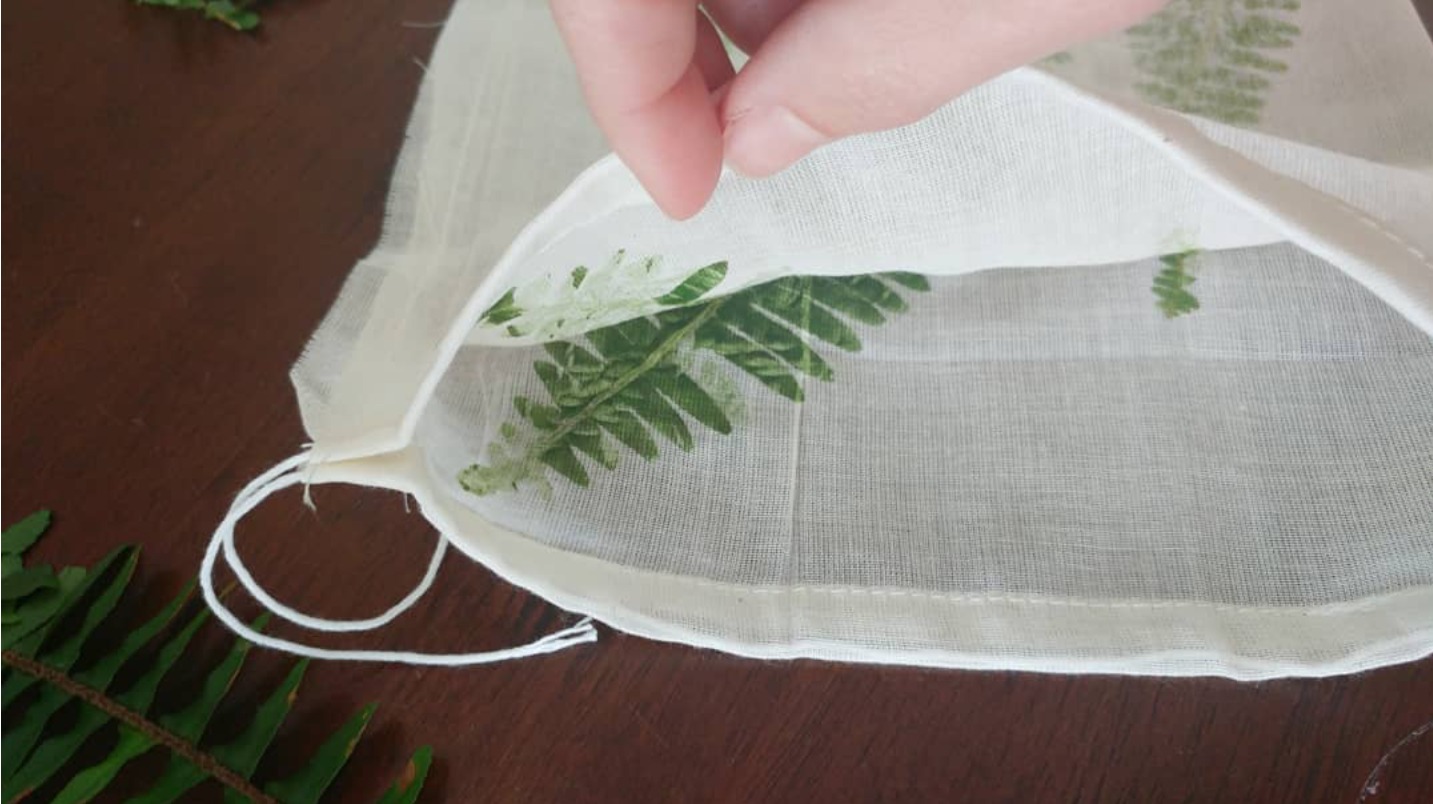
Select fresh plant leaves and flowers — you can separate them or keep them whole. Position your botanicals on cotton fabric, linen, or even paper. I clipped three fern leaves and positioned them inside a cotton drawstring bag so the bag itself becomes the art piece.
Step 2 — Hammer Time
Layer a separate piece of fabric carefully over the botanicals, then hammer on a smooth, hard surface. I turned my bag inside out, positioned the leaves inside, then hammered directly on it. Fair warning: it is LOUD. Take it outside and keep the pets away!
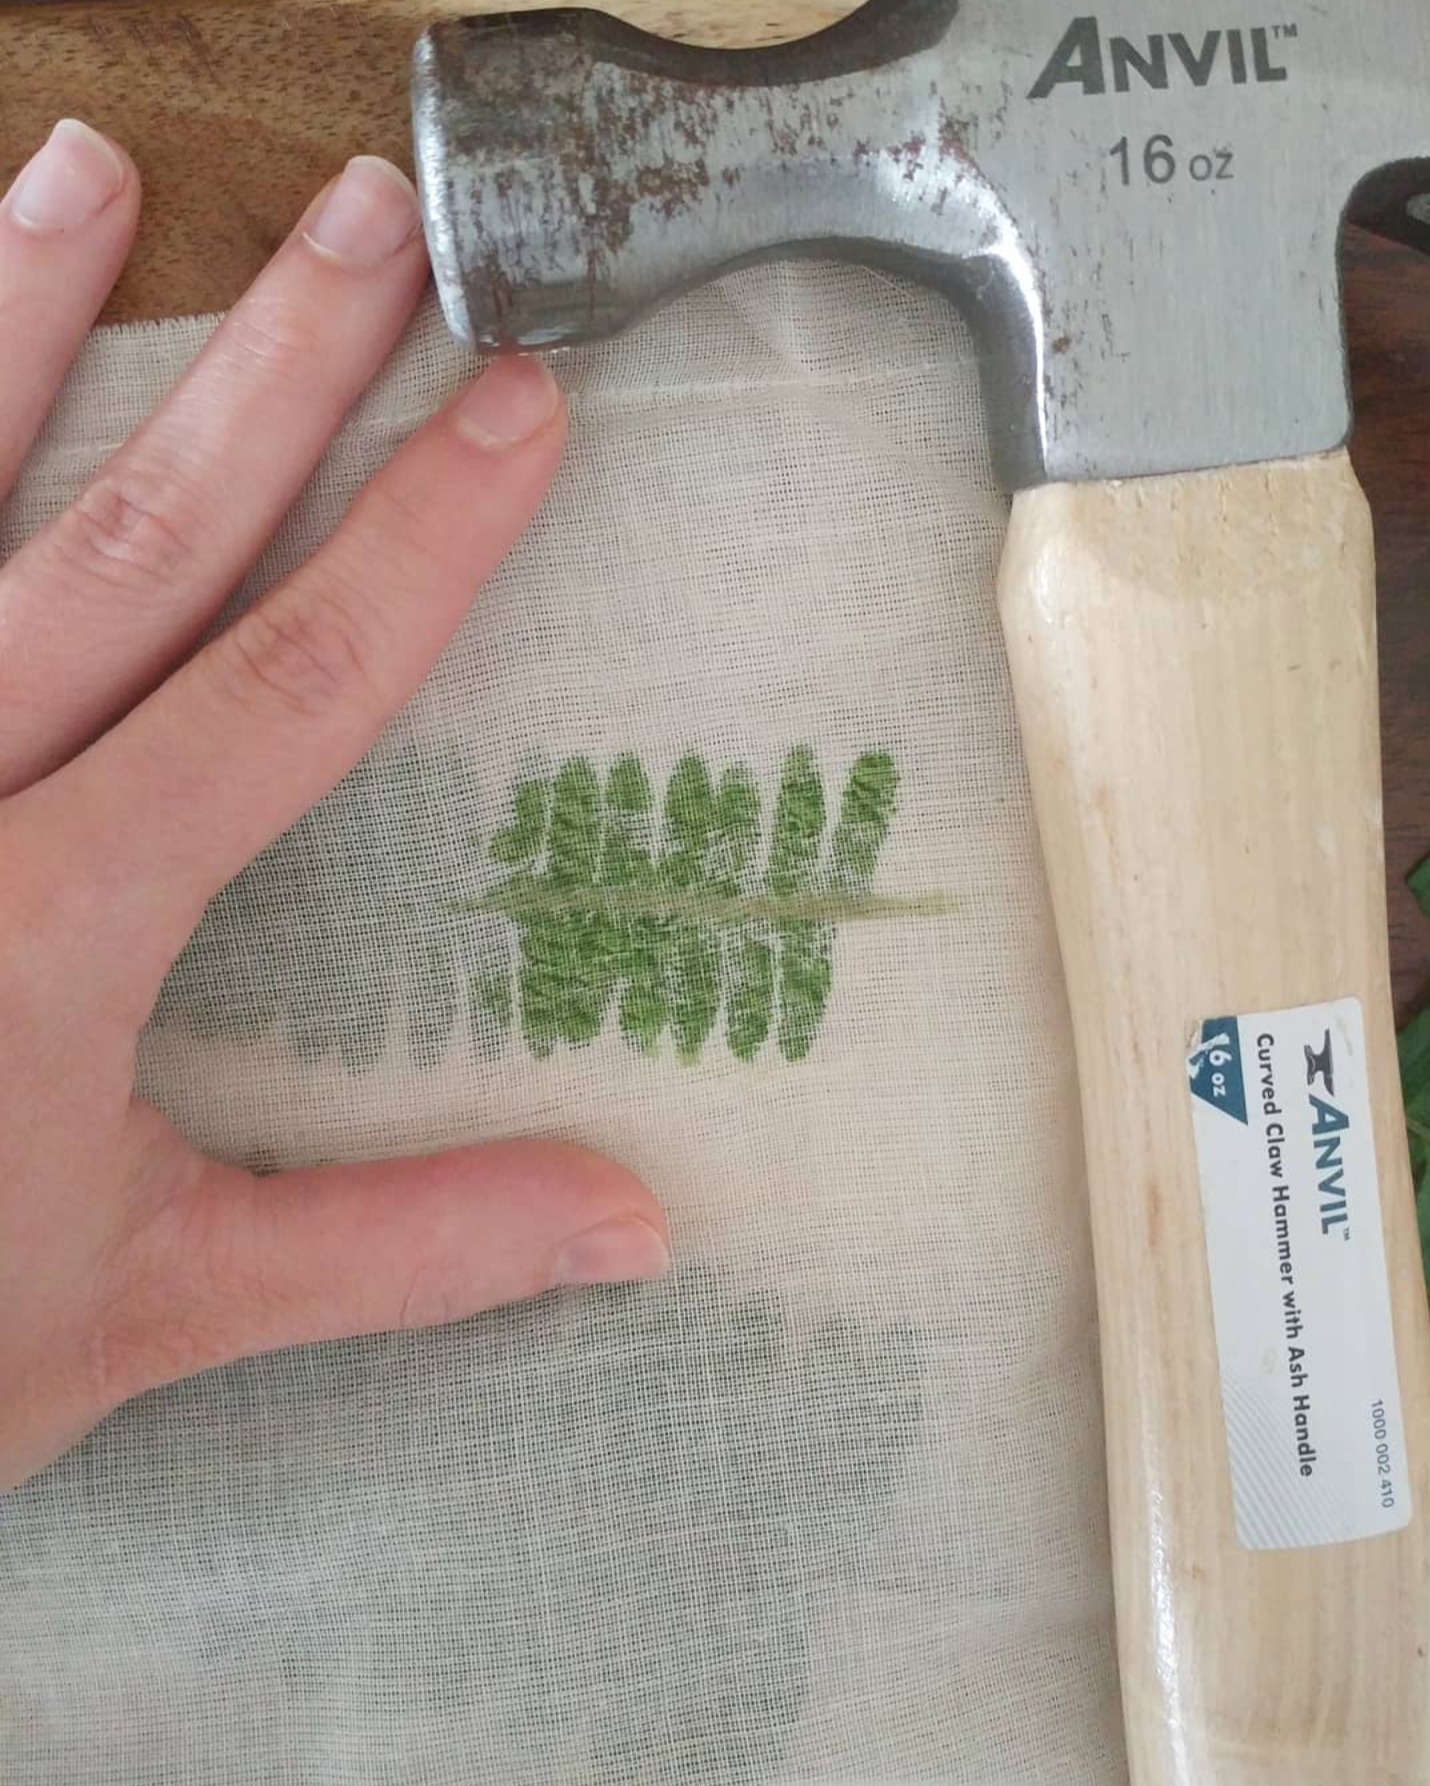
Step 3 — Peel & Reveal
Slowly peel back the fabric to reveal the botanical impressions — stained beautifully by the leaf pigments. Most of the plant matter brushes away once dry. Each print comes out a little different, and that's exactly the point.
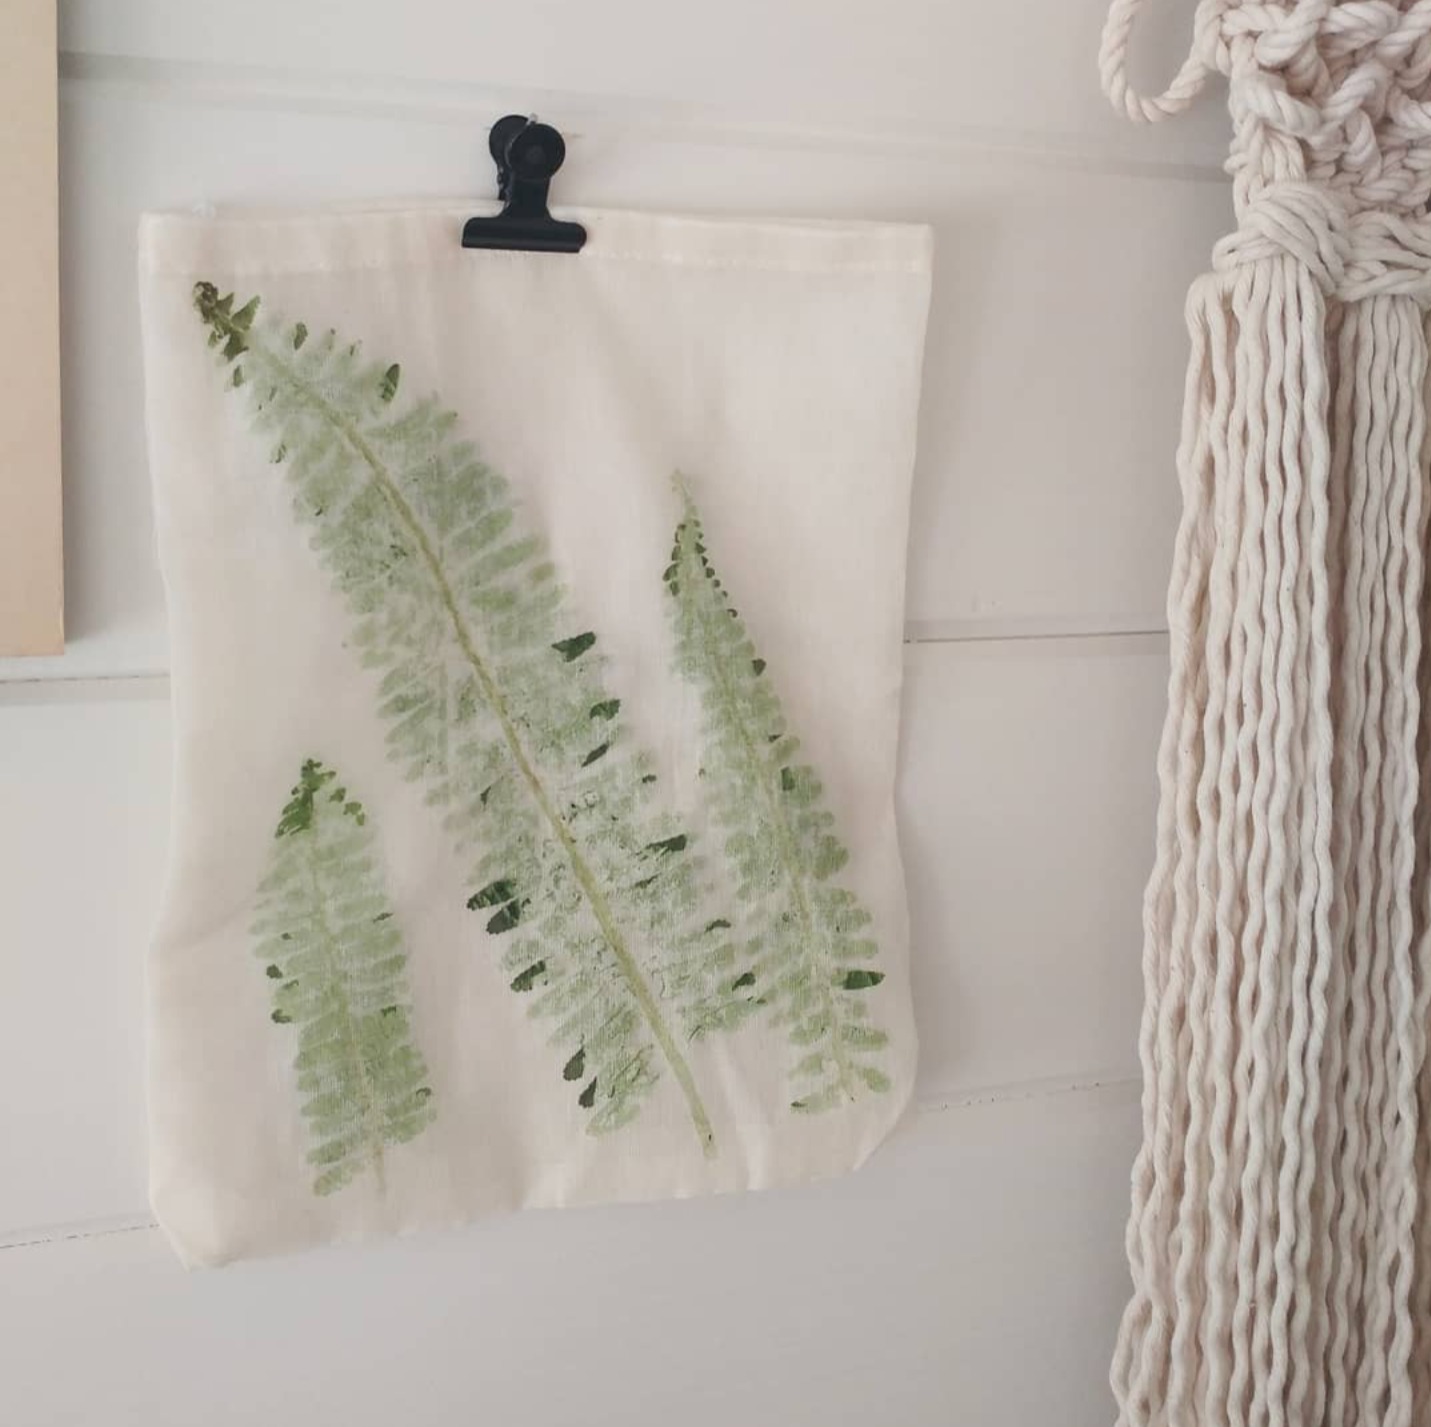
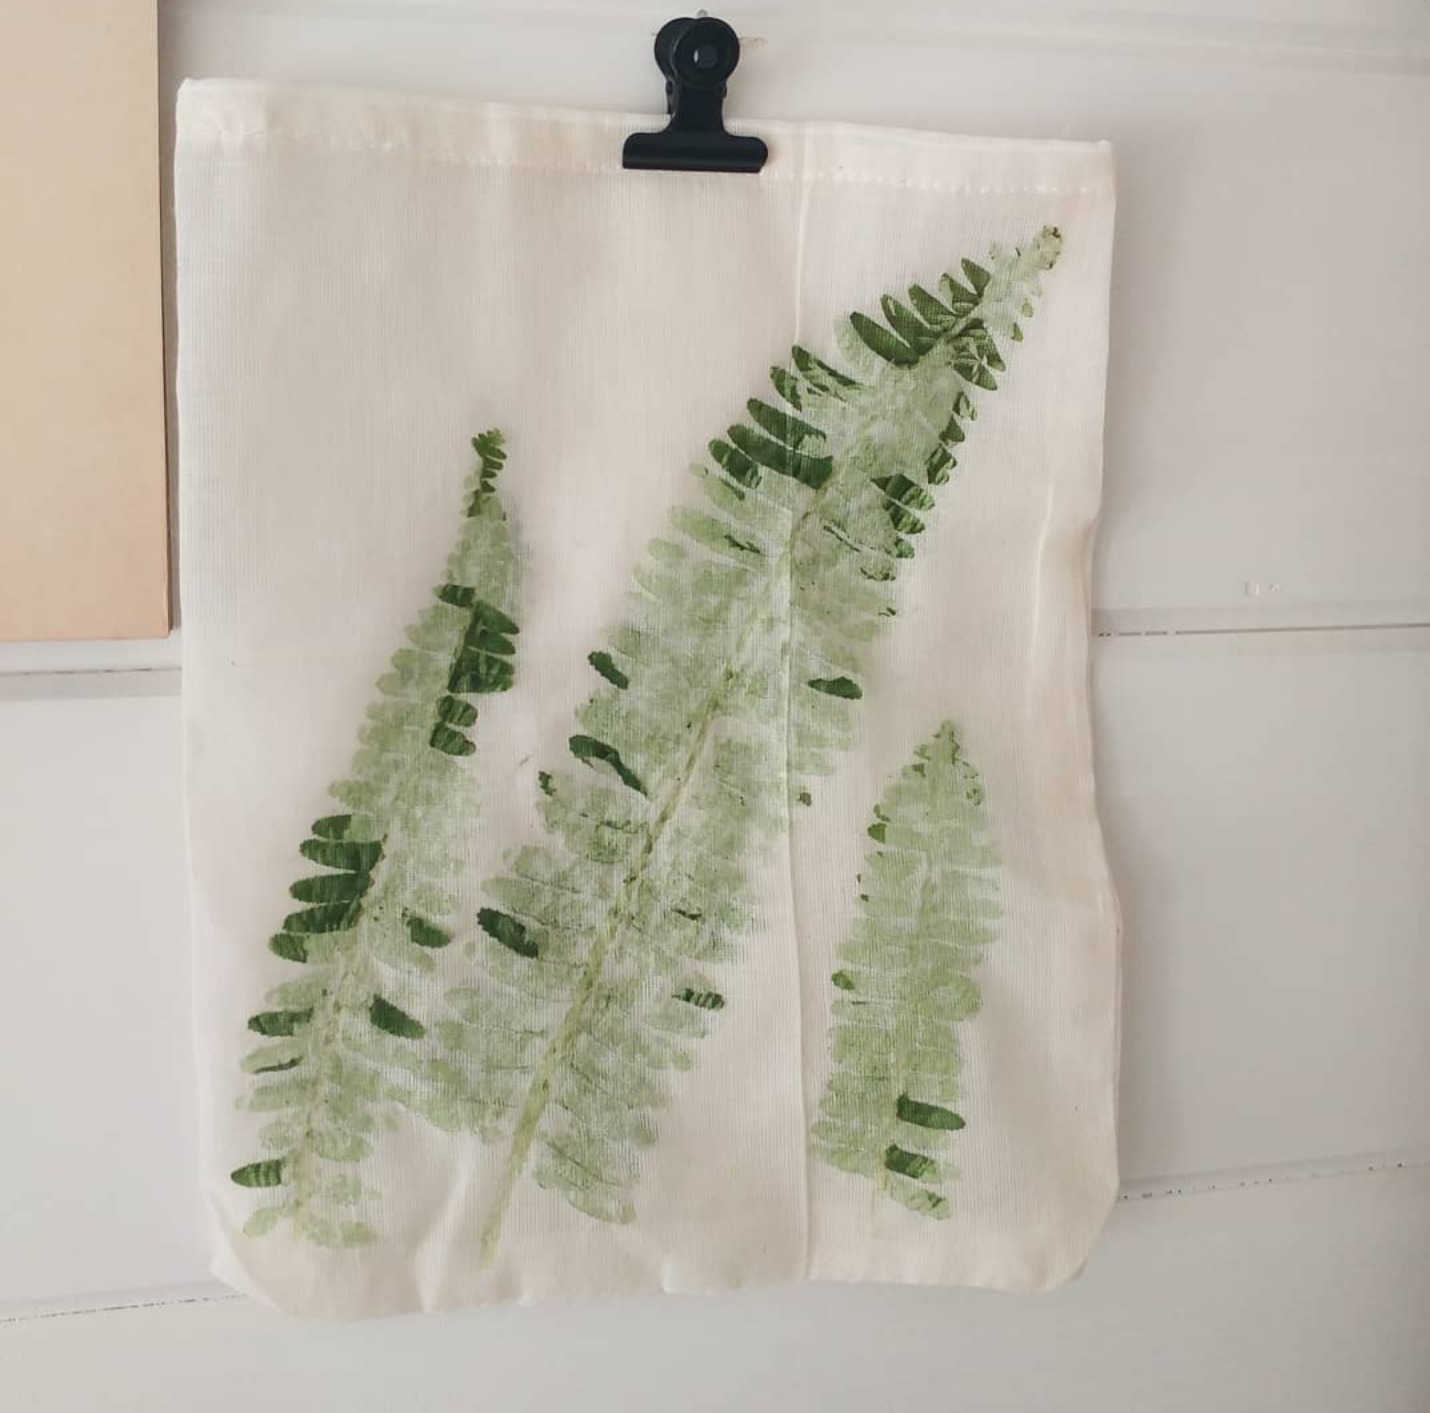
Way better than a store-bought print, way cheaper, and totally one-of-a-kind. Give it a try and tag me @tys_knots when you do!


